How to Start Streaming on Twitch (Beginner Guide)
Starting your first Twitch stream feels like standing on stage with the mic in your hand, exciting, nerve-racking, and honestly, a little confusing. There’s OBS, bitrate, stream keys, overlays… what even is a keyframe interval?
Let’s break it all down. From setup to growth hacks, here’s how to hit “Go Live” with confidence, and not look like a total beginner.
Quick Answer: TL;DR 11 Steps to Start Streaming on Twitch
-
Create a Twitch account and turn on Two-Factor Authentication (required to stream)
-
Pick your platform: PC, console, or mobile
-
Gear up: Start with a mic, then add webcam/lighting
-
Install OBS Studio (or console-native Twitch app)
-
Connect your Twitch account and input your stream key
-
Set up your scenes: game window, mic, camera, and overlays
-
Choose your video/audio settings: CBR, 720p/1080p, 30/60 FPS
-
Add alerts, chat mods, and safety tools
-
Write your title, pick tags and category
-
Do a test run before going live
-
Stick to a stream schedule: consistency = growth
What You Need Before You Go Live
Before OBS even opens, there are a few things you need locked in: your account, gear, and internet.
Account & Safety
Head to Twitch.tv and hit Sign Up. Choose a name that fits your personal branding, even if it’s a temporary alias. Make it searchable and avoid numbers if you can.
Once you’ve created your account:
-
Enable 2FA in your Twitch settings.
-
Set your display name (capitalise it cleanly, even if it’s lowercase)
-
Add panels for your bio, donation links, or commands
-
Upload a profile banner and avatar for instant recognition
-
Visit the AutoMod settings under Safety → Mod Tools to filter chat harassment
It’s never too early to think about moderation. Set up a basic Nightbot or Mocha for automated spam protection.
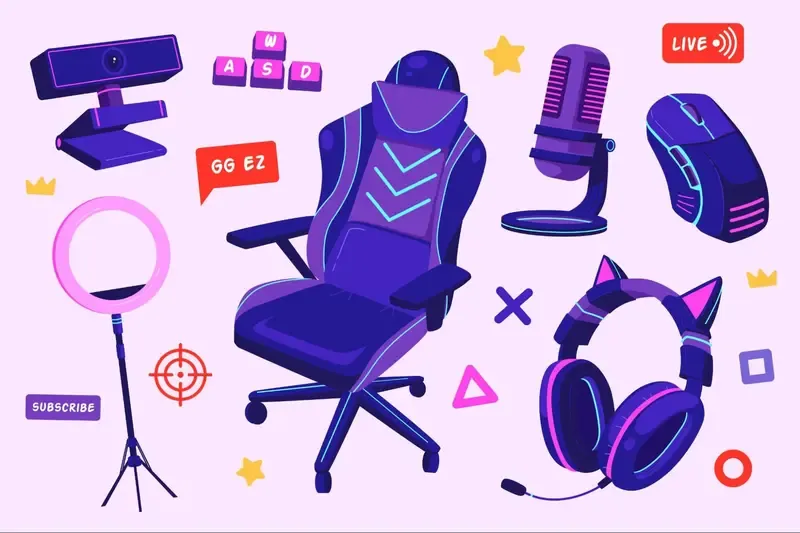
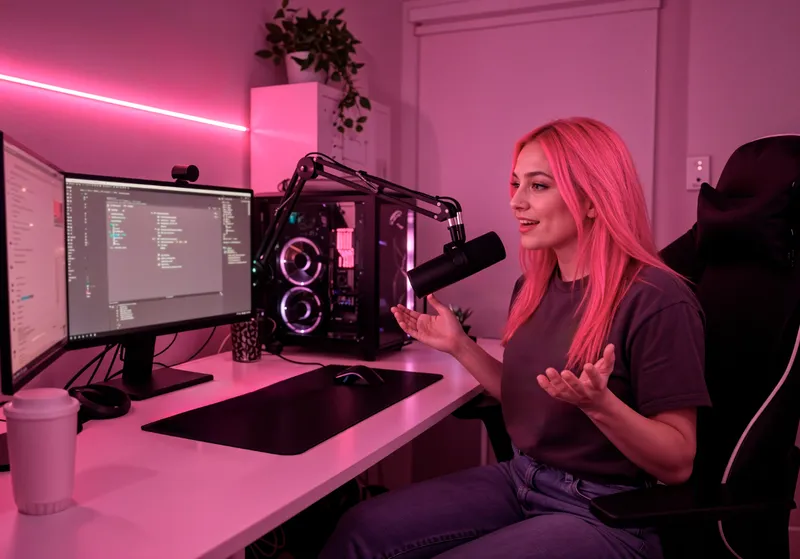
Minimum Gear
If you’re just starting out, don’t overcomplicate it, but don’t skip the mic.
-
Microphone: Prioritise this over webcam. Even a basic Blue Snowball or Razer Seiren Mini sounds 10x better than headset mics.
-
Lighting: Natural light works, but a cheap ring light will clean up your facecam instantly.
-
Webcam: 720p or 1080p. Logitech C920 or Razer Kiyo are solid starter cams.
-
Headphones: Any closed-back pair will stop echo/feedback in your stream.
-
Capture Card (optional): Only needed for Switch or console setups without native Twitch apps.
Internet Speed
Twitch streams are more upload-heavy than download. You want at least:
-
5 Mbps upload for 720p
-
8-10 Mbps upload for 1080p or smoother bitrate flexibility
For stability, use a wired Ethernet connection instead of Wi-Fi. Latency, buffering, and bitrate drops hit hard on wireless.

PC Setup with OBS Studio (Step-by-Step)
If you’re streaming from a PC, OBS Studio is the go-to. It’s free, solid, and gives you full control without locking anything behind a paywall. The interface looks a little busy at first, but it’s easier than it seems. Once you’ve done the setup once, you’ll fly through it next time. Here’s how to get everything running, scenes, settings, and all:
Install & Connect
-
Download OBS Studio.
-
Open OBS → Settings → Stream
-
Set Service: Twitch
-
Click Connect Account or paste in your stream key from the Twitch [Creator Dashboard → Settings → Stream]
Note: Never share your stream key. It’s what links OBS to your Twitch channel, anyone with it could hijack your stream.
Scenes & Sources
Your scene is what your viewers see. Your sources are the parts that make it up.
Here’s a basic scene setup:
-
Game Capture / Window Capture (the actual game)
-
Audio Input Capture (your mic)
-
Audio Output Capture (your desktop/game sound)
-
Browser/Image Source for overlays, follower alerts, webcam frames, etc.
Keep separate scenes for Starting Soon, BRB, and Stream Ending graphics. You can switch scenes mid-stream using hotkeys.
Encoder & Video Basics (Beginner Settings)
Don’t sweat the tech too hard, just copy these defaults and adjust later:
-
Rate Control: CBR (constant bitrate)
-
Bitrate: 4,500-6,000 kbps (start with 4,500 for 720p60)
-
Keyframe Interval: 2 seconds
-
Encoder: NVENC (new) if you have an NVIDIA GPU; else use x264 with “veryfast” preset
-
Audio Bitrate: 160-192 kbps; Sample Rate: 44.1 kHz or 48 kHz
-
Base (Canvas) Resolution: Whatever your monitor is
-
Output (Scaled) Resolution: 1280×720 or 1920×1080
-
FPS: 30 or 60 (depending on your hardware and game)
Why CBR? It keeps your stream bitrate consistent, which Twitch prefers. Variable bitrate can cause buffering spikes for viewers.
Test Run
Before going public, do a local recording to check:
-
Audio/video sync
-
Dropped frames or stuttering
-
Overlay alignment
-
Mic volume vs game volume
Use Twitch’s built-in Bandwidth Test Tool to simulate a live stream without going live. That way, no one sees your setup fumble.
Console & Mobile Streaming
You don’t need a high-end PC to start streaming. If you’re on PS5, Xbox, or even mobile, Twitch has native tools.
PS5 & Xbox
-
Install the Twitch app from your console’s store
-
Log in to your Twitch account and link it to the console
-
Set your stream title, category, and tags
-
Xbox users can plug in a webcam; PS5 supports the PlayStation HD Camera
You won’t get full OBS-level customization, but it’s solid for gameplay-focused streams.
Nintendo Switch
The Switch has no Twitch app, so you’ll need a capture card (like Elgato HD60 S).
-
Connect Switch → capture card → PC → OBS
-
Add it as a Video Capture Device source in your scene
-
Then go live from your PC like normal
Mobile (IRL / Just Chatting)
Twitch’s mobile app has a Go Live feature:
-
Works best for IRL, Just Chatting, or reaction content
-
Use a tripod or phone stand
-
Watch your battery and data usage
-
Set your title/tags before starting
This isn’t ideal for gaming, but great for casual streams or on-the-go updates.
Make Your Stream Watchable (Overlays, Alerts, Audio)
Now that you’re live, don’t just show raw gameplay. Add some visual polish and sound control to keep people watching.
Overlays and Scenes
Keep your overlays clean and easy to read. A simple webcam frame, a space for alerts, and your name or socials is plenty. Overcrowding your screen makes the game harder to watch.
-
Alerts: Place them in the top or bottom corner so they pop without covering the action. Test them before going live so volume and timing aren’t jarring.
-
Scenes: At minimum, set up three: Starting Soon (with music to warm up your chat), BRB (so breaks don’t leave a dead screen), and Ending (to sign off, thank viewers, and direct them to follow or raid).
Audio Setup
Bad sound loses viewers faster than bad video.
-
Mixing: Keep game audio about 30-40% lower than your voice. Your audience should always hear you clearly over gameplay.
-
Mic settings: Use compression to even out your voice, a limiter to stop clipping when you get loud, and noise suppression to cut background hum or clicks. Even free software like OBS has these filters built in, use them.
Chat Moderation
A chaotic chat drives people away.
-
Bots: Nightbot or StreamElements can handle spam, run custom commands, and post reminders.
-
Filters: Set up a blocked word list to auto-delete offensive or distracting messages.
-
Mods: Recruit trusted viewers to enforce rules and keep chat friendly, don’t try to do it all alone.
Early on, chat might be dead, and that’s okay. But dead chat looks worse when new viewers stop by. A Twitch Chat Bot fills in the gaps, posts reminders, and keeps the mood alive while you’re still growing.

Extensions and Panels
Panels are like your business card on Twitch.
-
Tips/Donations: Link a secure tipping option.
-
Schedule: Post exact days/times so viewers know when to return.
-
About Me: Add a short personal intro, why you stream, your favourite games.
-
Gear List: Share your setup (PC specs, mic, camera). Viewers often ask, and it makes you look professional.

Your First Viewers & Consistent Growth
Getting to 3 average viewers on Twitch is tough, but growth gets easier once you hit it. Here’s how to keep people watching.
-
Set a schedule: Treat Twitch like a part-time job. Pick 2-3 consistent days per week and stick to them. Your stream becomes a habit only if you’re reliable.
-
Theme your content: Instead of just “playing games,” focus on a clear angle. Try “no-hit runs,” “late-night chill streams,” or “grind to Plat.” This gives people a reason to click you over 10,000 others.
-
Stick to 1-2 games at first: Don’t vary stream right away. Algorithms prefer consistency. Build a base in one category, then branch out.
-
Boost discoverability: Write clickable titles: “Hardcore Run - 1 Life, No Mercy.” Use at least five tags and make them specific. Update your game/category every stream.
-
Repurpose your best moments: Turn clips into YouTube Shorts, TikToks, and Instagram Reels. Hook new viewers on other platforms, then link back to Twitch.
-
Engage immediately: Say hi when someone joins, even if they’re lurking. Ask simple prompts like “Played this before?” or “What would you do here?”
-
Use a Viewer Bot to simulate momentum: No one wants to click on a stream with 0 viewers. A Twitch Viewer Bot helps you appear active, which makes real people more likely to stop by and stay.
-
Celebrate early milestones: Your first chatter, your 10th follower, hype it up. It makes early viewers feel like they matter.
-
Use channel points smartly: Custom redemptions (like “choose next loadout” or “hydrate check”) give viewers reasons to interact more often.
-
Off-Twitch funnel: Start a Discord or newsletter to notify people when you go live. Twitch’s notifications alone aren’t enough to bring them back.

Safety & Rules New Streamers Miss
It’s easy to forget Twitch has real rules, and skipping them can kill your channel early.
-
DMCA strikes are real: Don’t stream copyrighted music. Even if you’re under 10 viewers, bots still scan audio. Use Twitch’s own Soundtrack tool or royalty-free playlists like StreamBeats.
-
Know Twitch’s content policies: Nudity, hate speech, and gambling with crypto can get you banned instantly. Read Twitch’s Community Guidelines, especially if you stream edgy or reactive content.
-
Moderation is a must: Turn on AutoMod to block slurs or spam. Use follower-only or sub-only mode if you get botted or harassed.
-
Enable slow mode: This helps when you start getting more chatters and need to keep things readable.
-
Don’t ignore age settings: If you curse a lot or stream mature games, mark your stream as 18+. It protects you from violations and sets the right expectations for your audience.
Common Beginner Setups (Quick Presets)
You don’t need a beast PC to start streaming. Match your setup to what you’ve got now, then upgrade later.
Low-spec laptop? Go with this:
-
Resolution: 720p30
-
Bitrate: 3000-4000 kbps
-
Encoder: NVENC or QuickSync (if available)
-
Use a wired connection (Wi-Fi = stream drops)
Mid-range PC (basic gaming rig):
-
Resolution: 720p60 or 1080p30
-
Bitrate: 4500-6000 kbps
-
Encoder: Hardware NVENC preferred
-
OBS or Streamlabs with basic scenes and alerts
Dual-PC setup or capture card:
-
Best for high-end streams or console play
-
Separate streaming PC handles encoding
-
Lets you stream at full resolution + max performance
You can absolutely go live with what you have now. Just test, adjust, and improve piece by piece.
Next Steps: From First Stream to Affiliate
Once you’ve streamed a few times, it’s time to start aiming for Twitch Affiliate. But don’t stress about the exact numbers just yet, focus on the process.
Watch these 4 metrics:
-
Total stream time
-
Unique stream days
-
Follower count
-
Average concurrent viewers
Twitch updates these every 24 hours under the Creator Dashboard. If you’re getting close, push harder that week.
Need a boost to hit that average viewer or follower count? A well-timed Follow Bot can help trigger Twitch’s eligibility tracking fast.
After each stream, ask yourself:
-
Did I greet every new chatter?
-
Were there dead-air moments I can cut?
-
Did my title/category reflect the content?
-
Was the quality good (video + mic)?
-
Did anything confuse or frustrate viewers?
Improving each time is how you actually hit Affiliate and build something sustainable.
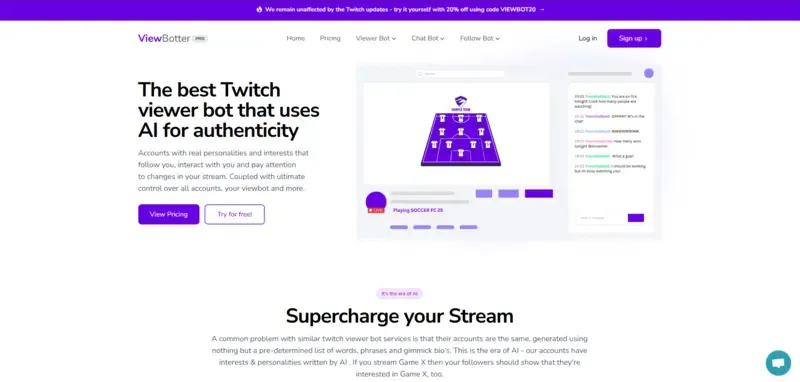
Ready to grow faster?
ViewBotter gives new streamers the head start they need, from viewer bots and chat automation to follower boosts.
Don’t wait months to get noticed. Explore ViewBotter tools and hit Twitch milestones on your terms.
FAQ
Do I Need a Webcam?
No, but it helps. Viewers trust streamers more when they can see your face. If you skip it, make sure your voice, overlays, and engagement are on point.
What’s a Good Starter Mic?
Look for a USB mic like the Blue Yeti, Elgato Wave, or Fifine K669B. Avoid headset mics, even a budget USB mic sounds 10x better.
What Bitrate Should I Use?
-
720p30: 3000-4000 kbps
-
720p60: 4000-5000 kbps
-
1080p30: 4500-6000 kbps
Use NVENC if you’re on NVIDIA, and always test with your internet speed.
How Do I Test My Stream Without Going Public?
In OBS, set your stream to “Record” instead of “Stream.” You can test video, audio, and alerts locally. You can also stream to a private Twitch alt account to double-check everything before going live for real.
Can I Stream Console Games Without a Capture Card?
Yes, if you’re on Xbox or PS5. Use the Twitch app on your console. For Switch or older consoles, a capture card is required.
How Do I Get Viewers With Zero Followers?
Start by getting a few real people from Reddit, Discord, or Twitch communities to stop by. Use a Twitch Viewer Bot if needed to simulate early traction, perception drives clicks. Then talk nonstop. Dead air = no growth.
What Are Twitch Tags and How Many Should I Use?
Use at least 5 tags every stream. Prioritize specific ones that describe your content or audience (“Challenge Run,” “No Backseating,” “Playing With Viewers”).
What’s the Difference Between OBS and Streamlabs?
-
OBS Studio: Lightweight, open source, very customizable
-
Streamlabs: Easier for beginners, has built-in alerts, overlays, cloud saves
Both are fine, start with Streamlabs if you want plug-and-play. Use OBS if you want more control long term.