How to Start VTubing on Twitch in 8 Simple Steps
Starting VTubing sounds simple enough: make an anime avatar, open Twitch, hit Go Live.
Then, twenty minutes later, there are tabs open about Live2D rigging, VRM files, face tracking, OBS scenes, expressions, custom commissions and motion-capture hardware that costs more than the gaming PC.
Good news: most of that can wait.
A beginner VTuber setup is basically:
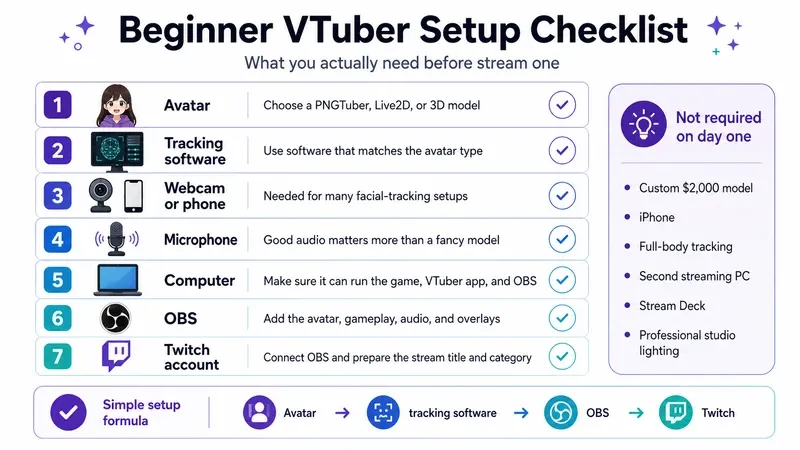
Avatar → tracking software → OBS → Twitch
That’s it.
A first VTuber avatar does not need to be a $2,000 masterpiece. Starting cheaply is usually smarter because it gives a new streamer time to figure out whether VTubing is actually fun before sinking serious money into it.
Quick Answer: What Do You Need to Start VTubing on Twitch?
To start VTubing on Twitch, a beginner generally needs:
- A VTuber avatar
- Software that animates or tracks the avatar
- A webcam or phone if using facial tracking
- A microphone
- A computer capable of running the streaming setup
- OBS or another broadcasting program
- A Twitch account
What isn’t required?
Full-body motion capture, a custom VTuber model, an iPhone, a second streaming PC, professional studio lighting, a Stream Deck or a three-week cinematic “VTuber debut.”
A simple PNGTuber avatar, basic microphone and free streaming programs are enough to start broadcasting.
The fancy stuff can come later.
How Does VTubing Actually Work?
VTubing is basically a layer between the streamer and the final live broadcast.
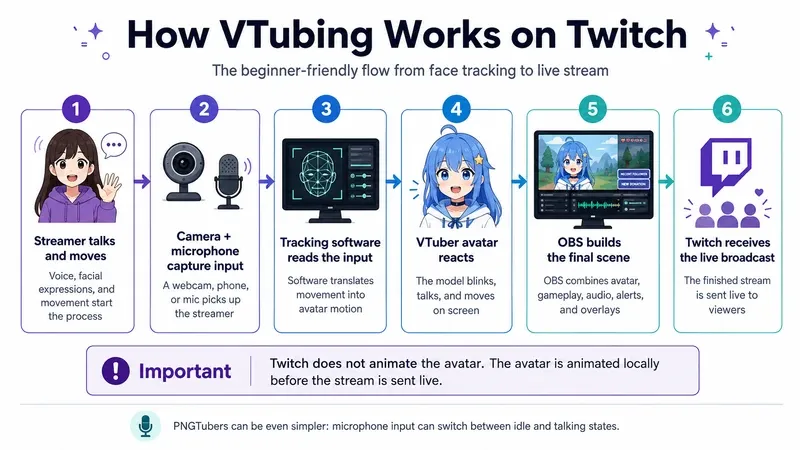
The flow looks like this:
Streamer moves and talks ↓ Camera and microphone capture the input ↓ Tracking software reads that input ↓ The VTuber avatar moves and reacts ↓ OBS combines the avatar, game, audio and overlays ↓ Twitch receives the finished stream
Twitch itself isn’t animating the virtual avatar. That all happens locally on the streamer’s computer before OBS sends the finished video feed to the streaming platform.
A PNGTuber setup can be even simpler. Instead of full VTuber camera tracking, the software may simply use microphone input to switch the PNGTuber avatar between silent and talking states.
That simplicity makes PNG avatars one of the easiest ways to test the VTubing space.
Step 1: Choose Between PNGTuber, Live2D and 3D
Before downloading every VTuber maker on the internet, pick the type of avatar the channel will actually use.
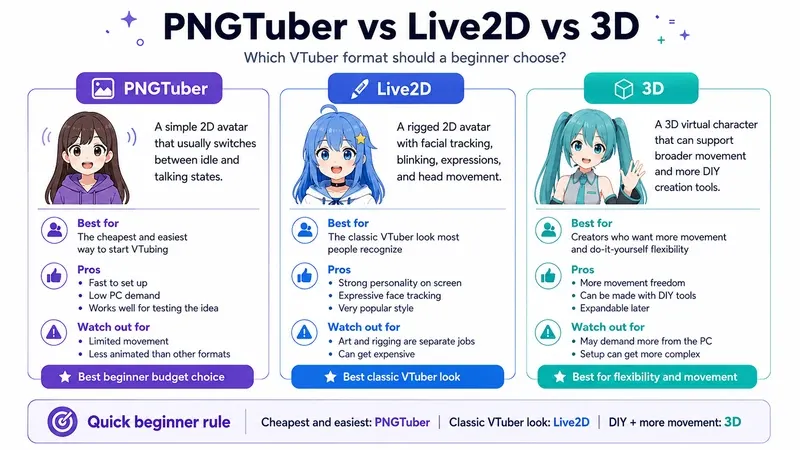
| PNGTuber | Live2D VTuber | 3D VTuber | |
|---|---|---|---|
| Avatar | Static 2D images | Rigged 2D model | 3D character |
| Tracking | Basic voice/input | Facial tracking | Facial/body tracking |
| Difficulty | Easiest | Medium | Medium–advanced |
| PC load | Lowest | Moderate | Usually higher |
| Starting cost | Very low | Low to expensive | Low to expensive |
| Best for | Testing VTubing | Classic VTuber look | Movement and customization |
PNGTuber
A PNGTuber usually uses a small set of 2D images. The software can switch between states depending on whether the streamer is talking.
It isn’t as technically impressive as a fully rigged Live2D avatar, but that’s kind of the point.
The setup is cheap, lightweight and easy to understand. Software such as veadotube mini can handle basic microphone-reactive animation.
If somebody doesn’t know whether they’ll still enjoy VTubing three months from now, starting with a PNGTuber avatar makes a lot more sense than immediately commissioning the virtual equivalent of a Ferrari.
Live2D VTuber
Live2D is the familiar animated 2D look most people associate with VTubers.
A Live2D VTuber avatar can track things such as:
- Head movement
- Eyes
- Blinking
- Mouth movement
- Expressions
Software such as VTube Studio can handle the tracking side.
One beginner mistake is assuming the character artwork and rigging are the same thing.
They aren’t.
An artist can create beautiful character artwork, but that flat illustration does not automatically become a moving Live2D avatar. Rigging is what gives the artwork its movement.
3D VTuber
A 3D virtual character gives the streamer more freedom of movement and can later expand into hand, upper-body or full-body tracking.
Tools such as VRoid Studio make it possible to create a 3D VTuber avatar without commissioning an entire model from scratch.
For beginners, the simple rule is:
Cheapest and easiest: PNGTuber Classic VTuber look: Live2D DIY plus more movement: 3D
Step 2: Make, Buy or Commission a VTuber Model
Once the avatar type is decided, there are three basic routes.
Make It Yourself
A streamer could:
- Draw PNGTuber assets
- Create a 3D avatar
- Learn Live2D artwork
- Learn rigging
DIY is usually the cheapest option, although “free” can turn into 37 hours of learning how eyebrows work surprisingly fast.
Buy a Premade VTuber Avatar
Premade VTuber avatars are faster and usually cheaper than custom commissions.
Before using one for streaming, check:
- Commercial streaming rights
- Modification rights
- Attribution requirements
- Redistribution restrictions
The tradeoff is exclusivity. Other VTubers may be using the same avatar.
For a beginner VTubing channel, that’s rarely a disaster.
Commission a Custom VTuber Avatar
A custom commission can include:
- Character design
- Artwork
- Rigging
- Expressions
- Alternate outfits
- Custom animations
Prices vary enormously depending on the artist, complexity and amount of rigging, so there isn’t one useful universal number.
The better beginner move is to avoid commissioning the “forever model” before stream one.
A basic avatar teaches a streamer what they actually want. Maybe eye tracking matters more than outfits. Maybe expressions matter more than body movement. Maybe they discover they hate streaming altogether.
Much cheaper lesson.
Step 3: Choose VTuber Tracking Software
The tracking software needs to match the avatar format.
| Avatar | Software Example | Tracking Input |
|---|---|---|
| PNG | veadotube mini | Microphone |
| Live2D | VTube Studio | Webcam / phone |
| 3D | Compatible 3D VTuber software | Webcam / phone / optional body tracking |
Depending on the setup, tracking software may detect:
- Head movement
- Eyes
- Blinking
- Mouth movement
- Eyebrows
- Expressions
More advanced VTuber software may also track hands, the upper body or the entire body.
But better tracking does not automatically mean more tracking.
Smooth head, eye and mouth movement usually looks better than fifteen advanced features that glitch every twelve seconds.
Start with the movements viewers will actually notice.
Step 4: Get the Basic VTuber Equipment
A beginner streaming setup doesn’t need to look like a NASA control room.
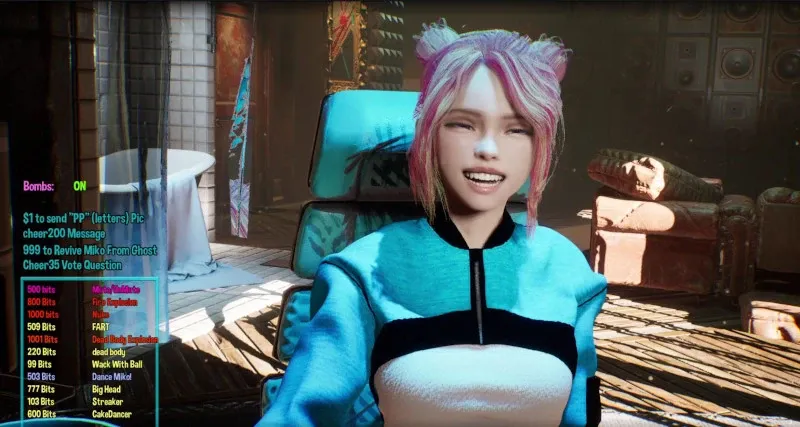
Computer
The computer may need to run all of these at once:
- The game or content
- VTuber software
- Tracking software
- OBS
- Alerts
- Browser sources
That can become demanding quickly, particularly with games plus a complex 3D avatar.
Microphone
Audio deserves more attention than most beginners give it.
People can forgive a basic model.
Listening to a terrible microphone for three hours is a much harder sell.
Webcam or Smartphone
Most Live2D and 3D facial-tracking setups use a webcam or phone.
And yes, the webcam can watch the streamer’s face without the streamer’s actual face appearing publicly.
More on that shortly.
Lighting
Lighting still matters when using avatars.
The audience doesn’t need to see the streamer.
The tracking software does.
Clearer, more consistent lighting can make facial tracking more reliable.
Optional upgrades include a second monitor, phone mount, Stream Deck, better microphone, improved webcam, hand tracking or full-body tracking.
None are necessary for stream one.
Step 5: Configure the VTuber Avatar
Before OBS enters the equation, make sure the avatar itself behaves properly.
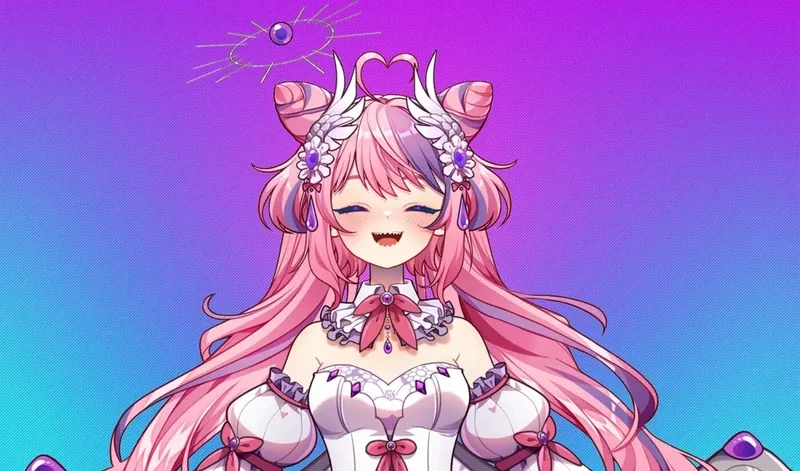
Configure things such as:
- Camera input
- Microphone input
- Neutral facial position
- Mouth sensitivity
- Blink sensitivity
- Head movement
- Expressions
- Hotkeys
- Avatar position
- Transparent background
Then deliberately try to break it.
Look left and right. Look up and down. Blink. Smile. Talk quietly. Talk loudly. Move closer to the camera. Lean away.
Watch for classic beginner problems:
- Mouth moving while completely silent
- Avatar blinking every second
- Tracking disappearing when the head turns
- Expressions activating accidentally
- Model shaking constantly
Fixing these before the first live broadcast is considerably less stressful than discovering them while twelve people are watching the avatar have a seizure.
Step 6: Add the VTuber Model to OBS
Once the VTuber software works, OBS becomes the glue.
A simple scene might look like:
Gameplay/background ↓ VTuber avatar ↓ Chat and alerts ↓ Audio
The basic process is:
- Open the VTuber software.
- Configure a transparent background or compatible capture method.
- Open OBS.
- Add the VTuber application as a source.
- Resize and position the avatar.
- Add gameplay or window capture.
- Add microphone audio.
- Add Twitch alerts if wanted.
- Connect OBS to Twitch.
- Record a test before going live.
There is no need to turn this section into an encoder-settings PhD.
For the wider OBS, scenes and Twitch setup process, ViewBotter’s beginner guide on how to start streaming on Twitch is the better next step.
The important part here is simply understanding where the VTuber layer sits: the tracking application creates the virtual character, and OBS places that character inside the finished stream.
Step 7: Build a Clean VTuber Stream Layout
Using avatars creates one extra design problem:
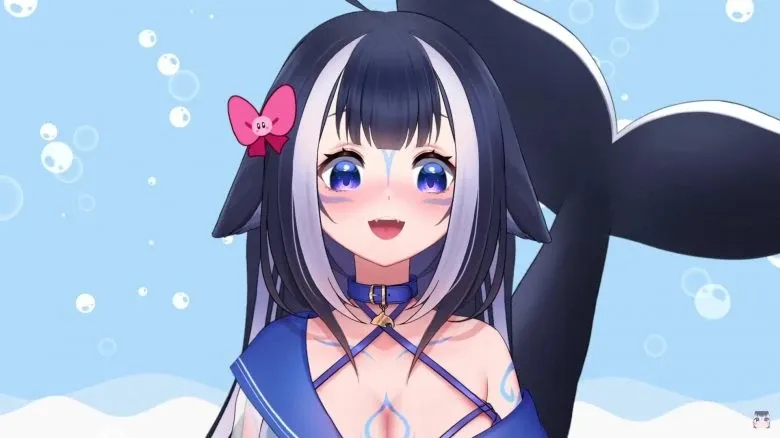
The avatar needs screen space.
For gaming, the usual priority should be:
Gameplay = biggest element Avatar = corner or side Alerts = away from important game information Chat = optional
For Just Chatting, the VTuber avatar can become much larger, with a themed background, chat panel, props or reactive community elements around it.
Common mistakes include:
- Avatar covering the minimap
- Alerts covering the avatar’s face
- Giant decorative borders
- Chat covering subtitles
- Shrinking gameplay to make room for ten widgets nobody asked for
A good rule is:
The avatar is part of the content, not decoration that gets squeezed into whatever space remains.
Step 8: Test Everything Before the First Twitch Stream
Before going live, run through this checklist:
- Avatar tracking works
- Mouth reacts correctly
- Webcam or phone remains connected
- Microphone sounds clear
- Game audio doesn’t overpower the voice
- Avatar isn’t covering important gameplay
- Alerts work
- OBS isn’t dropping frames
- VTuber software isn’t destroying game FPS
- Twitch category and title are correct
- Chat can be monitored
- VTuber hotkeys don’t clash with game controls
The best beginner trick is extremely boring and extremely effective:
Do ten minutes.
Talk. Move around. Play something. Trigger an alert. Change expressions. Use hotkeys.
Then watch the recording.
Ten minutes of testing can expose problems that would otherwise haunt an entire first stream.
How Much Does It Cost to Start VTubing?
VTubing can cost almost nothing or become an alarmingly effective way to empty a bank account.
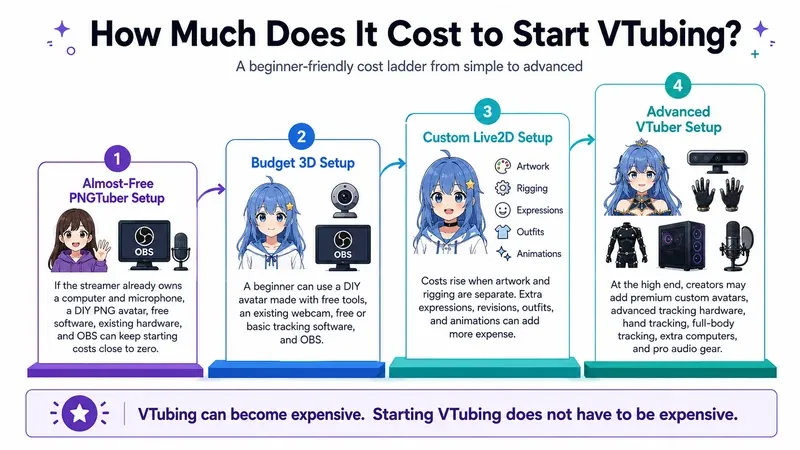
It depends on the setup.
Almost-Free PNGTuber Setup
If the streamer already owns a computer and microphone:
- DIY PNG avatar
- Free software
- Existing hardware
- OBS
The initial cost can be close to zero.
Budget 3D Setup
A beginner can use:
- DIY avatar made with free tools
- Existing webcam
- Free or basic tracking software
- OBS
Custom Live2D Setup
Costs can climb because artwork and rigging may be separate.
Additional expenses can include:
- Expressions
- Revisions
- Alternate costumes
- Extra animations
Advanced VTuber Setup
At the higher end, a streaming setup may add:
- Premium custom avatar
- Advanced tracking hardware
- Hand tracking
- Full-body tracking
- Additional computers
- Professional audio equipment
The important distinction is simple:
VTubing can become expensive. Starting VTubing does not have to be expensive.
Do You Need an iPhone to Start VTubing?
No.
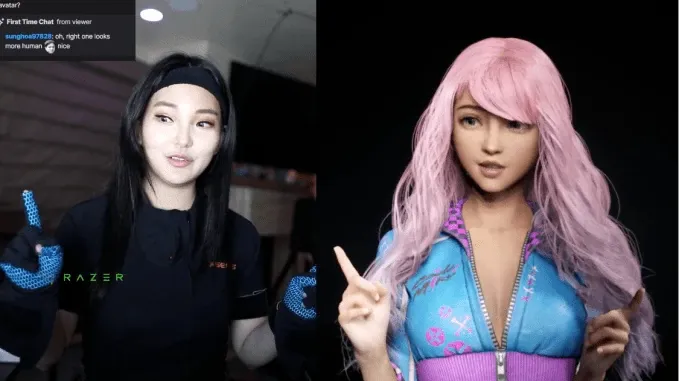
A normal webcam is enough for many beginner VTuber setups.
Compatible iPhones can offer another face-tracking option and may provide more detailed tracking with supported software, but buying one is not a requirement for somebody who just wants to start VTubing.
Use what is already available first.
If webcam tracking later becomes an obvious limitation, then an upgrade starts making sense.
Buying hardware before discovering the problem it is supposed to solve is how a $50 experiment becomes a $1,500 “hobby” before stream number two.
Do VTubers Need to Show Their Face?
No.
That’s one of the main reasons people are drawn to VTubing.
A webcam may still be pointed at the streamer because the tracking software needs to read facial movement. That doesn’t mean the camera source has to be added to OBS or shown to Twitch viewers.
The virtual avatar is what viewers see.
For a basic PNGTuber avatar, a facial tracking camera might not be needed at all because the character can react to microphone input instead.
Tracking camera ≠ public facecam.
What Should a Beginner VTuber Stream on Twitch?
“VTuber” is a presentation style, not a Twitch category.
A virtual YouTuber can stream basically the same content as any other creator:
- Games
- Just Chatting
- Art
- Tier lists
- Challenge streams
- Community games
- Horror games
- Cozy games
- Creative content
- Appropriate reaction or commentary content
And no, a VTuber does not have to spend eternity streaming anime games simply because the avatar has purple hair.
For new Twitch channels, discoverability matters.
A category dominated by enormous creators can bury a small stream so far down the directory that practically nobody sees it.
ViewBotter’s guide to the best games to stream on Twitch for beginners digs deeper into choosing categories where a smaller creator has a realistic chance of being discovered.
Create a VTuber Character People Can Remember
The model is only half the character.
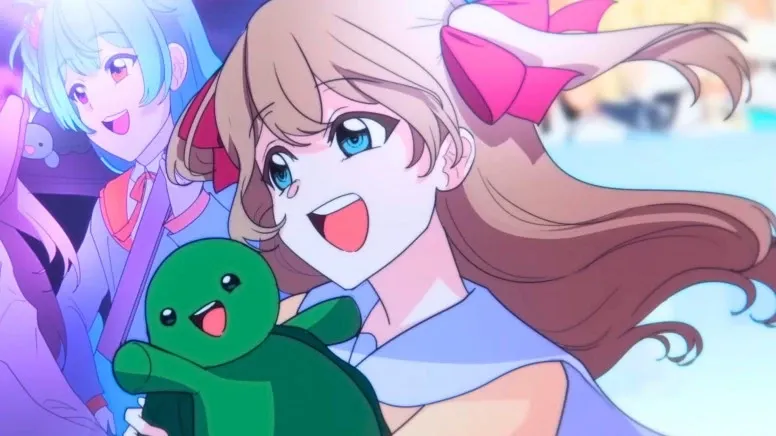
A beginner should decide on a few basics:
- Name
- Main visual theme
- Colors
- General personality
- Normal voice or character voice
- Expressions
- Recurring jokes
- Catchphrases, if they develop naturally
What isn’t required before stream one?
A 40-page lore document, cinematic debut, full fictional universe, three alternate costumes and twelve complicated character relationships.
The character needs enough identity to be recognizable—not enough lore to qualify for its own wiki.
A useful test:
Can somebody describe the VTuber in one sentence?
If yes, there is probably enough to start.
How to Get Viewers as a New Twitch VTuber
Here’s the slightly painful part.
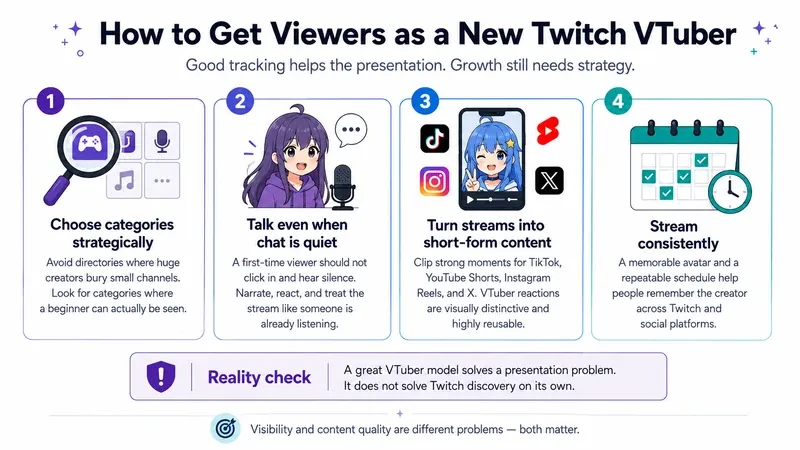
Spending $1,000 on Live2D rigging does not automatically move a channel above the zero-viewer streams.
Great tracking solves a presentation problem.
It doesn’t solve Twitch discovery.
Choose Categories Strategically
A smaller Twitch channel needs somewhere it can actually be seen.
Instead of automatically choosing the category with the largest viewer count, look at how many competing live streams are already there.
Talk Even When Nobody Is Chatting
A first-time viewer shouldn’t click into a VTubing channel and hear complete silence.
Narrate what’s happening. React. Ask easy questions. Treat the stream like somebody is already listening.
Because eventually somebody will be.
Turn Streams Into Short-Form Content
VTuber content has a natural advantage here: expressive virtual characters can make reactions visually distinctive.
Turn strong moments into clips for:
- TikTok
- YouTube Shorts
- Instagram Reels
- X
Expressions, props, ridiculous reactions, recurring jokes and Channel Point moments can all become video content rather than features that only exist during the live stream.
Stream Consistently
Recognition matters.
Seeing the same memorable VTuber avatar repeatedly can help people remember the creator, particularly when the visual identity is consistent across Twitch and social media.
For the broader strategy, see ViewBotter’s guide on how to grow on Twitch from zero, alongside the guides to the best time to stream on Twitch and getting more Twitch viewers.
Beginner VTubing Mistakes to Avoid
A lot of beginner mistakes come from trying to build the final version of a VTubing channel before the first broadcast has even happened.
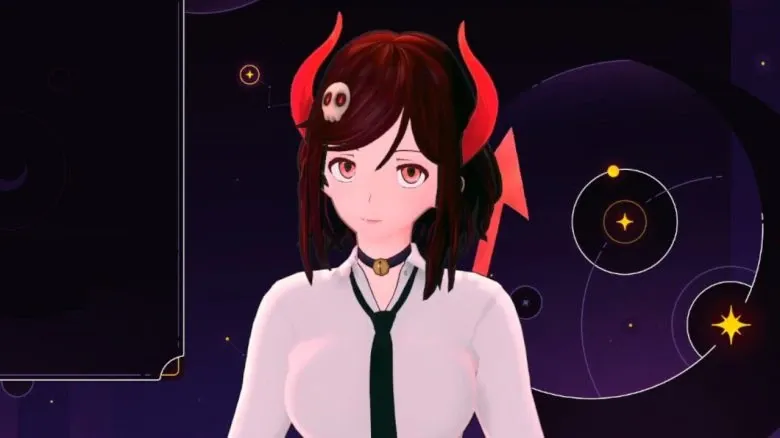
Spending too much before stream one. Test whether VTubing is actually enjoyable first.
Thinking a great model automatically creates great content. Avatar quality and entertainment value are different things.
Ignoring audio. The prettiest virtual character on Twitch cannot save three hours of painful microphone noise.
Buying every tracking upgrade immediately. Upgrade when the existing setup creates a real limitation.
Making the avatar enormous. The audience probably wants to see the game too.
Overloading the computer. VTuber software, tracking, OBS and gaming can hammer the same machine simultaneously.
Waiting forever for the perfect debut. A beginner is allowed to simply start streaming.
Creating a character that’s exhausting to perform. A persona needs to be sustainable across dozens or hundreds of streams.
Ignoring Twitch discoverability. A technically perfect stream can still receive almost no impressions.
Treating growth tools as the content strategy. Getting noticed and being worth watching are two separate problems.
Where ViewBotter Fits In
Getting the avatar moving solves the technical problem. It doesn’t solve the cold-start problem.
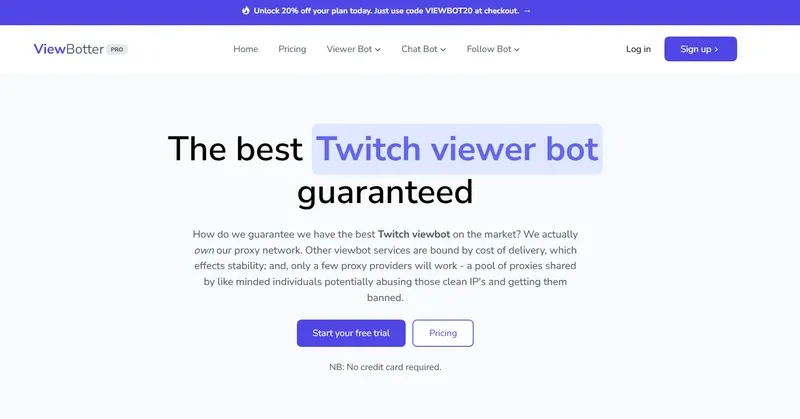
A new VTuber can have silky-smooth tracking, clean overlays and genuinely entertaining content while still sitting near the bottom of a Twitch category where almost nobody finds the channel.
That’s where ViewBotter fits in: the Twitch Viewer Bot can add early visible activity, the Twitch Chat Bot can add chat momentum during quieter streams, and the Twitch Follow Bot can strengthen social proof around the channel while the creator works on what makes real viewers stay—personality, content, clips, consistency and community.
These tools aren’t a replacement for making a good VTubing channel; they’re aimed at the visibility problem that comes before anyone gets the chance to judge it.
New streamers can try ViewBotter free for 30 minutes before deciding whether it belongs in their growth setup.
VTubing on Twitch FAQ
How do I start VTubing on Twitch as a beginner?
Choose a PNG, Live2D or 3D avatar, set up compatible tracking software, add the avatar to OBS, connect OBS to Twitch and test the complete streaming setup before the first live broadcast.
Can I start VTubing for free?
Yes. Beginners can create simple PNG or 3D avatars using free tools and use OBS for streaming. If a capable computer and microphone are already available, the initial cost can be very low.
What software do beginner VTubers use?
It depends on the avatar. PNGTubers can use simple voice-reactive applications such as veadotube mini, Live2D avatars can use compatible tracking software such as VTube Studio, and 3D avatars require software that supports their model format.
Do I need a webcam to be a VTuber?
Not always. Live2D and 3D facial-tracking setups commonly use a webcam or phone, while a basic PNGTuber setup can animate using microphone input instead.
Do I need an iPhone for VTubing?
No. A webcam can handle many beginner setups. Compatible iPhones can offer another face-tracking option with supported software, but they are an optional upgrade rather than a requirement.
Should I start with Live2D or 3D?
Live2D is a strong choice for the classic animated 2D VTuber appearance. A 3D avatar provides more movement and DIY options. Someone wanting the easiest possible entry can begin with a PNGTuber avatar.
Do I need a custom VTuber model?
No. Premade and DIY VTuber avatars are completely fine for starting. A custom commission makes more sense once the streamer knows they enjoy VTubing and understands what they actually want from the model.
The first VTuber avatar does not need to be perfect. Neither does the first stream.
Get the avatar moving, get the audio clean, test the setup and start broadcasting.
The polished model, extra expressions, elaborate lore and hand tracking can all arrive later.
Stream one is for finding out whether there should be a stream two.